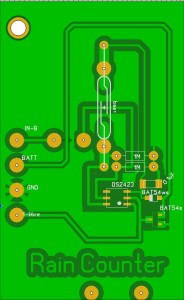
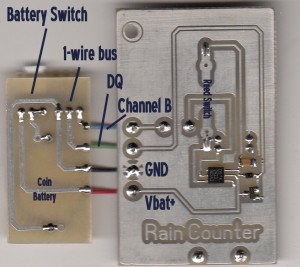
Converting a broken LaCrosse WS-9004U 915MHz WIRELESS RAIN GAUGE into a “wired” 1-wire 0.02 inches per tip rain gauge.
The Lacrosse unit is an inexpensive rain gauge available from my local Fry’s store for about $24. They are unusually finicky when being set up so I already knew I didn’t really have a lot of love for the device. After about 6 months, my unit stopped sending/receiving updates and no amount of new batteries, resets or pairing attempts seemed to help. I tossed it into my junkbox of parts.
Right around the time that MAXIM decided that making 1-wire devices was “tooo haaarrd”, (said in a whiner voice) and they killed off the DS2423 counter device, I decided to buy some before they were totally gone to see if I could make my junkbox tipping bucket hardware work in a “wired” mode.
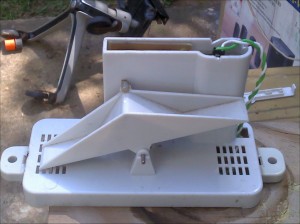
It wasn’t really that hard. I used a sample design from my WEATHERTOYS book, (AUTHOR: Tim Bitson), and after ripping all the guts out of the device (wireless sender and battery holder, I had some room for some 1-wire related parts.
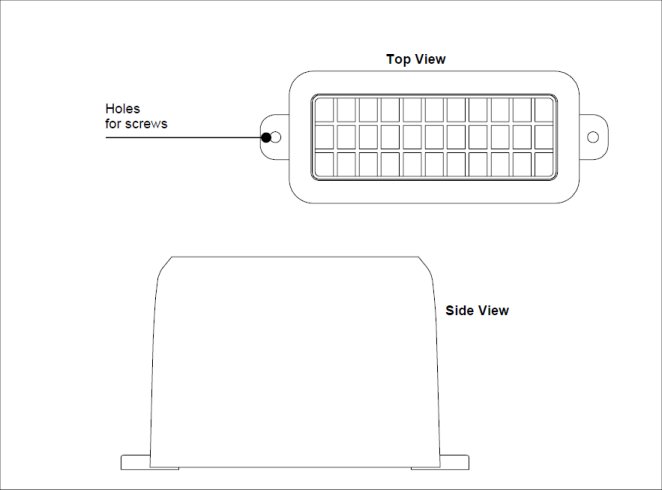
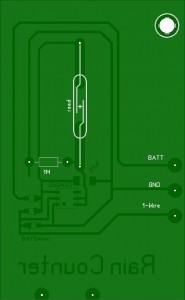
The original PCB fits in a nice slot in the plastic case and used a reed switch aligned with a magnet attached to the center of the tipping bucket. I used the dimensions to create a replacement board and everything fit except the CR2032 battery needed by the counter to not lose data when 1-wire was shorted or disconnected.
Original Board:

The CR2032 nicely fit into the area where the prior AAA batteries were housed.
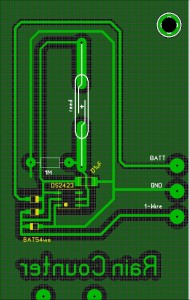
The 1-wire connection is made by using a weatherproof gel-filled crimp splice available from the local hardware store.
The code (java in my case) is straight from the Weathertoys book with adjustments made relating to the side of the tip, 0.02 inches per tip.
Installation
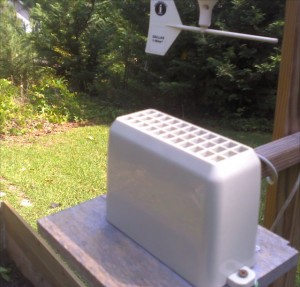
The Guts
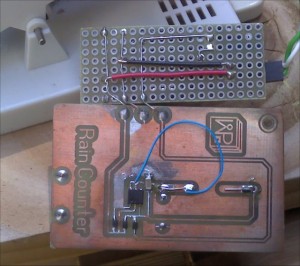
The main board and battery board
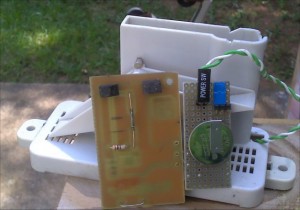
The backside
Note: Not my best work… I attempted to re-orient the reed switch during testing, which only managed to a) break a reed switch and b) break a copper trace (fixed with blue wire). In addition, I actually installed the wrong SMD part that I thought was a DS2423… which turned out not to be the case…
I suppose I could make a new board… but once this one started working… I just left it alone.
The gauge is currently off the station since I forgot to paint the plank, made from ash, used to mount the sensor. Small ants were using the aging cellulose to create a fungus garden under the cover of the rain collector. Silly me. Now I must replace and paint the replacement wooden board.
Next Step. Stop using a Linux server and JAVA and convert over to an Arduino MEGA2560 as a weather station controller.
